Picture it: You're two coffees into the day, your team's standup is in 10 minutes, and you really want to show off a fix you found to a mysterious bug. You push your change, see the CI trigger, and think, "This time. This is the run that will finally pass. Soon I’ll raise a triumphant pull request and watch the praise roll in."
But then you come crashing back to reality. The build takes 30 minutes on a good day because you work in a monorepo, and the CI builds everything. EVERYTHING. Even that visual regression tester that's super helpful for your backend change... Without knowing it definitely works in CI, you're not sure about saying you've solved the bug yet. So when you get to standup, it’s another day of, "I’m still working on the thing I mentioned yesterday."
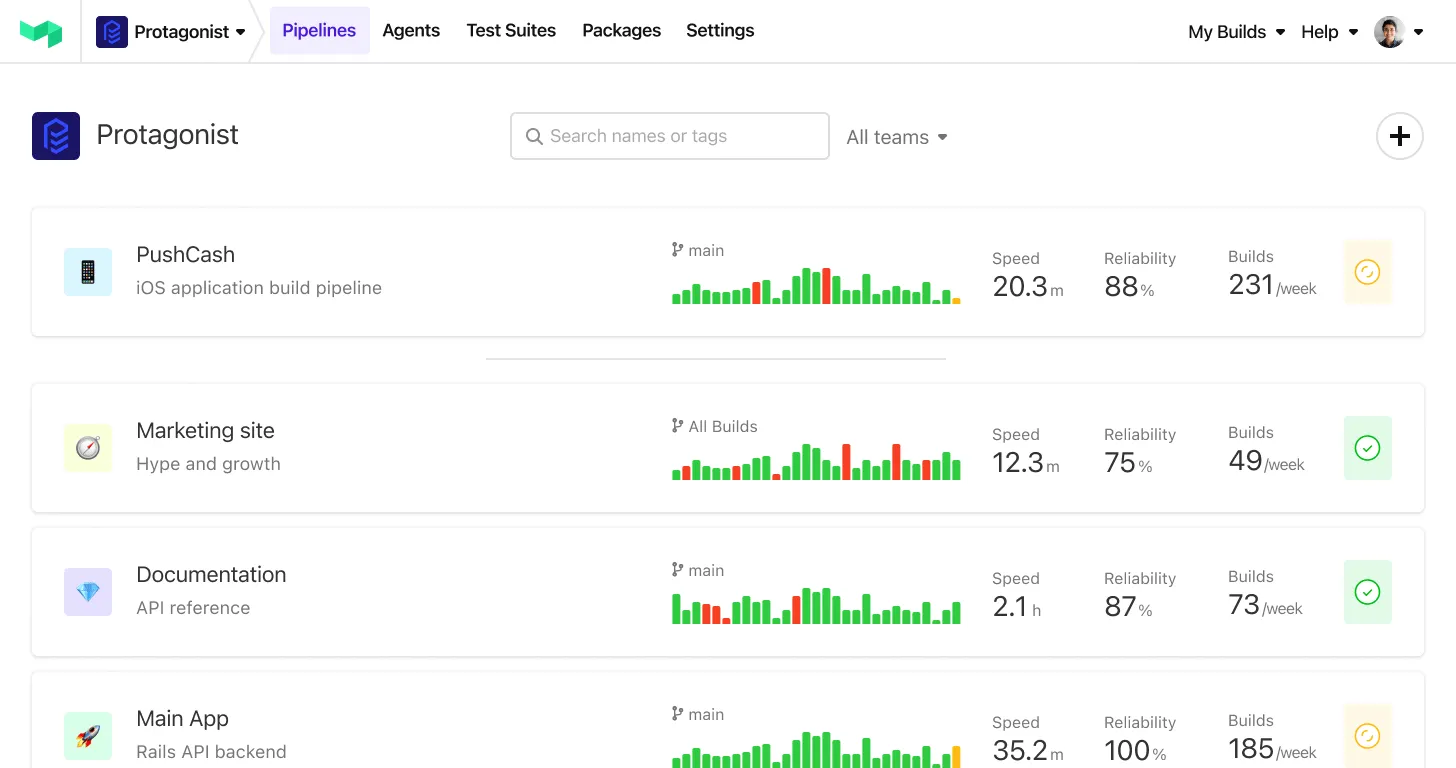
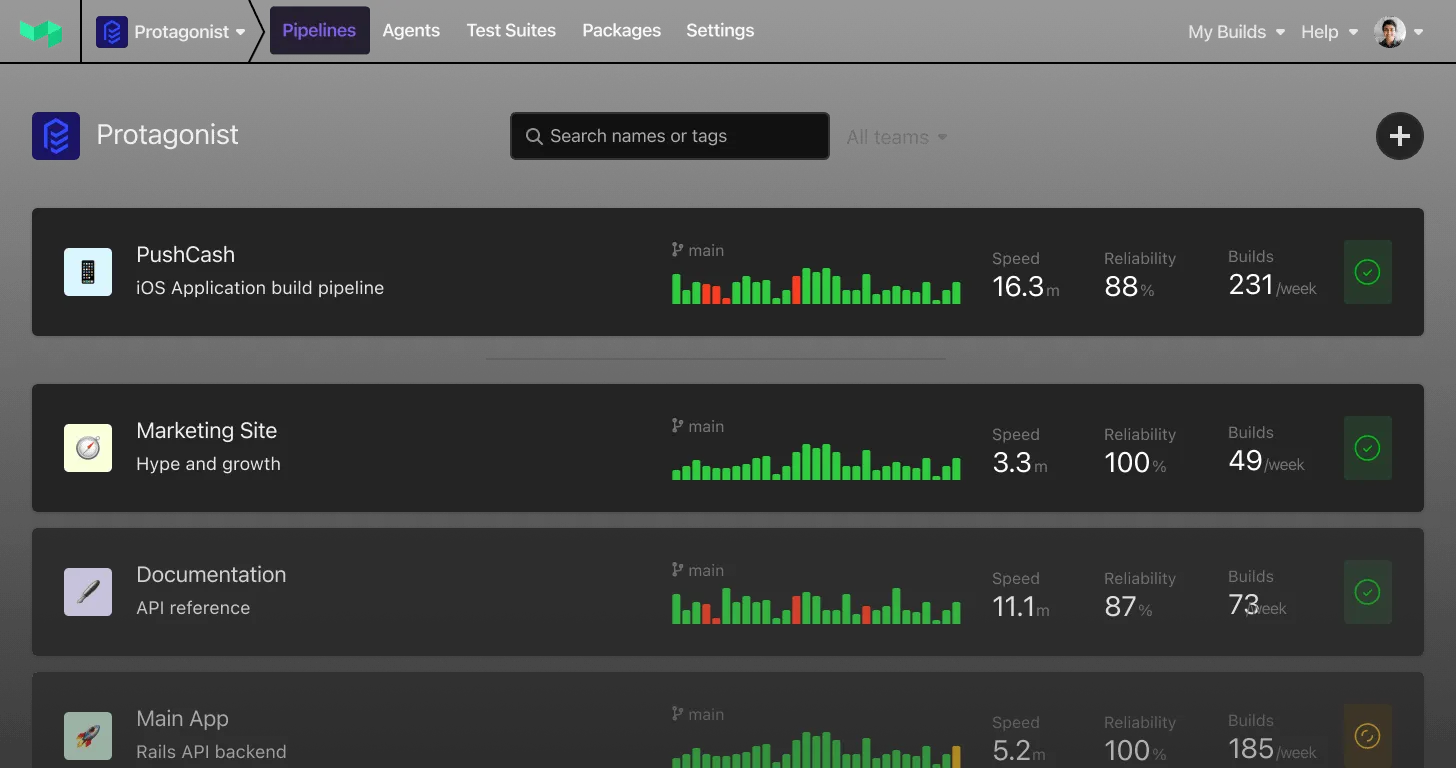
While that might feel all too familiar, it's completely avoidable with the right tools and configuration. It's time to stop building the unnecessary cruft brilliant code not related to your work, and start seeing the performance improvements from just building only what’s relevant. This post shows you one way to do that in monorepos: by having the pipeline decide what to run based on the files or folders changed using the Monorepo plugin in Buildkite.

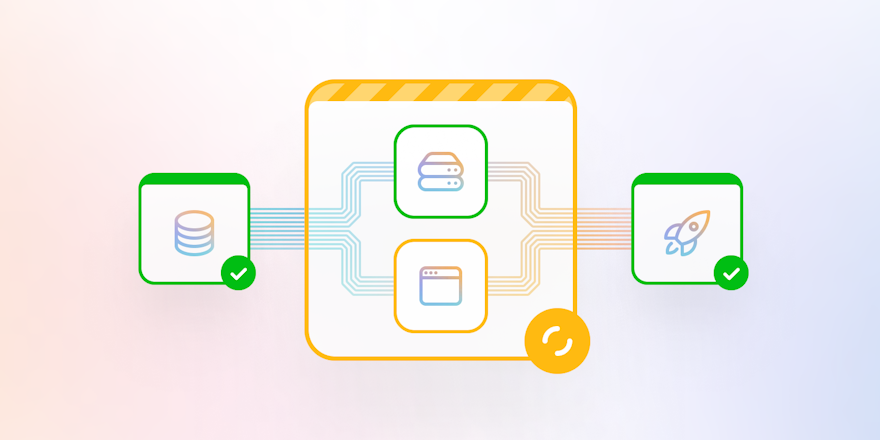
Decision flow with the Monorepo plugin
Wait, what’s a monorepo?
You're likely on top of this already, but let's check we're on the same page about monorepos. If you're new to this term or just want a quick refresher, I've got you covered.
A monorepo, short for “monolithic repository, is a codebase approach where you store the source code for multiple, often closely related, projects in a single repository.
Imagine an apartment building where each apartment is a different component or service in your code. In other approaches, you might have code in separate houses or even in different cities. But in a monolith, all the apartments are in the same building.
Monorepos are great for:
- Sharing code
- Collaborating across teams
- Having a centralized view of changes across a codebase
- Refactoring common components
- Having a single build and test pipeline
- Understanding how components interact
However, it's no secret that monorepos can be a double-edged sword. While the promise of "one codebase to rule them all" is appealing, they often become the breeding ground for chaos, confusion, and slow CI. As the codebase expands, build times skyrocket, and productivity takes a nosedive. In some cases, you might be tempted to set up a hammock in the office to take naps while you wait for your CI/CD pipeline to finish.
Isolate components to manage complexity
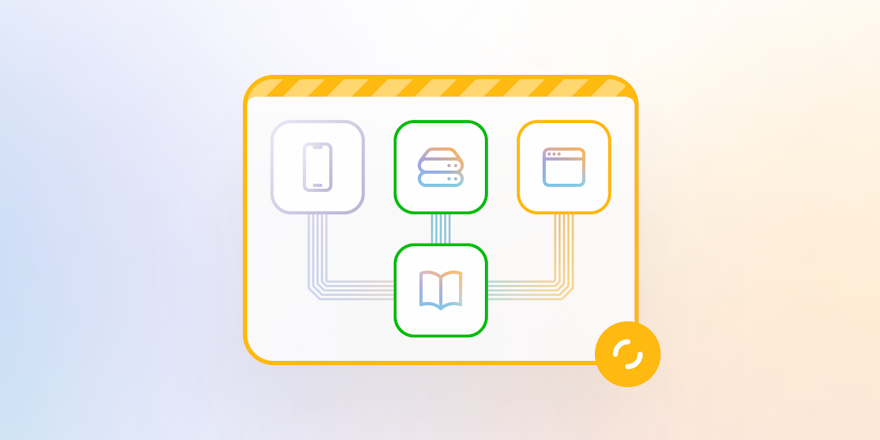
The way to solve the most common issues with monorepos is to draw clear semantic boundaries around components. Breaking your codebase into manageable components helps isolate the impact of changes and makes it easier to maintain and test. It should be clear what a component is for, what interface you use to interact with it, and which other components depend on it.
To keep the apartment metaphor going, you want clear and predictable ways to contact someone—such as sending a note through their post box. You don't want to start indiscriminately punching holes in the walls and yelling to check if the person is there. Or, start a whisper chain through multiple neighbors because it turns out you can't talk to the person directly. Dependency hell—let's just say I've seen things I hope you never do.
Clear semantic boundaries also help you keep good testing practices. With interconnected projects and shared components, it's hard to ensure that changes in one area don't wreak havoc in another. By defining clear boundaries, you can test components and their interfaces independently, reducing the scope and complexity of tests.
Map component boundaries to CI/CD
The CI/CD for monorepos typically faces the same problem as the codebase—blurry lines between components lead to building and testing irrelevant parts of the codebase.
But you can solve it using the same method you did in the codebase by mapping your component boundaries in your pipeline definitions. However you separate your files and folders, you can separate your pipelines. Simply configure your pipeline to watch for file or folder changes and run the necessary steps based on what changed.
For example, consider a situation where you have:
foo-servicebar-service
A change in one service doesn't affect the other. When you change a file in the foo-service folder, you want to display "Foo Service changed" in the logs. When you change a file in the bar-service folder, you want to run a different pipeline called deploy-bar-service.
In Buildkite Pipelines, you can do this with the Monorepo plugin in your pipeline definition:
1 2 3 4 5 6 7 8 9 10 11steps: - label: "Check changed files" plugins: - monorepo-diff#v1.0.1: watch: - path: foo-service/ config: command: "echo Foo Service changed" - path: bar-service/ config: trigger: deploy-bar-service
The step checks whether changes were made in the foo-service or bar-service folders. If they were, the corresponding actions run. If you change a file that's not in those folders, nothing further runs.
This is an official plugin supported by Buildkite, built from a fork of an existing community plugin. We looked at ways to collaborate on the original plugin but found it was important to our users that we offer a fully Buildkite-owned version of the plugin that we support. Thank you to Subash (Moneybag) for all your work developing and maintaining the community plugin.
Example configurations
There are many ways to map your monorepo, and we see teams doing all of them and more.
Split frontend from backend:
1 2 3 4 5 6 7 8 9 10 11 12 13steps: - label: "Check changed files" plugins: - monorepo-diff#v1.0.1: watch: - path: app/web/ config: trigger: build-test-frontend - path: - app/backend/ - app/db/ config: trigger: build-test-backend
Dynamically generate a pipeline based on the service changed:
1 2 3 4 5 6 7 8 9steps: - label: "Check changed files" plugins: - monorepo-diff#v1.0.1: watch: - path: foo-service/ config: label: ":pipeline: Pipeline upload" command: .buildkite/foo-service-pipeline.sh | buildkite-agent pipeline upload
Set environment variables:
1 2 3 4 5 6 7 8 9 10 11 12 13steps: - label: "Check changed files" plugins: - monorepo-diff#v1.0.1: watch: - path: "foo-service/" config: trigger: "deploy-foo-service" label: "Triggered deploy" build: message: "Deploying foo service" env: - AWS_REGION=us-west-2
You can see all these examples and more in the monorepo-diff-buildkite-plugin repository, including setting custom diff logic.
Conclusion
Monorepos are a popular approach to organizing codebases for a reason. They help teams manage tight integration across large and complex codebases. And your CI/CD doesn’t need to suffer to do it. As long as you keep your component boundaries clear, you'll have fast feedback loops, and more exciting updates at standup.
See what we’re talking about by signing up to Buildkite for free and trying out the Monorepo plugin.
Buildkite Pipelines is a CI/CD tool designed for developer happiness. Easily follow and decipher logs, get observability into key build metrics, and tune for enterprise-grade speed, scale, and security. Every new signup gets a free 30-day trial to test out the key features. See Buildkite Pipelines to learn more.


